Way back in 47 (version that is), Chrome started to mandate the use of HTTPS in conjunction with getUserMedia. To use HTTPS you need a SSL/TLS certificate. Xander Dumaine covered this a bit for us before, but I still see a lot of people out there struggle with it. As it so happens, the certificate for my own personal website is about to expire and I’m not too excited about paying $70/year to renew it. Fortunately, there is a new way to get certificates for free through Let’s Encrypt. Let’s Encrypt is a non-profit certificate authority that formed with the backing of many major industry players like Mozilla, Akamai, Cisco, and many others to simplify and automate the process of setting up encryption for your website. Oh, and its completely free.
Since I was due for a new cert, I figured I would set this up and see how simple and automated process is. My examples below are based on Nginx running the Node.js based Ghost blogging platform which all runs on Ubuntu 14.04 hosted by Digital Ocean.
If you are reading this, I am assuming this is all relatively new to you. If you are an advanced user you are better off just jumping to Certbot’s documentation or seeing if your compute platform provider has any up-to-date guides (like this now slightly outdated one for Digital Ocean).
One other note – I’m going to use “SSL” to refer to SSL and TLS. Even though they are technically different and Let’s Encrypt provides TLS, SSL is the marketing term that is used more often.
Why Encrypt
Before we start, let’s do a quick recap of why you should encrypt your website. First you should care about securing the data sent between your site and your users. It has been shown many times (listen here for some good reasons), a lot can be inadvertently be revealed by sending unencrypted data over the Internet. Even if you don’t care about this for some sadistic reason, the browser vendors do. They are starting to punish those who don’t encrypt by making it more and more obvious to non tech users that they are using sites that are “insecure”. Google even ranks HTTPS sites higher than those without. Lastly, if you want to make a getUserMedia call from a web server other than your local machine, you’ll need that web server to use HTTPS.

How to Encrypt
How do you get a certificate? There are a few ways:
- Check if your cloud provider offers an SSL service – many PaaS providers make this very simple, but you’ll pay a lot more for it (i.e. Herkou charges $20/mo)
- Generate your own SSL certificate with one of the open source TLS libraries like OpenSSL – this will still give users a warning and they’ll need to manually add an exception
- Go to a certificate authority, pay for one and hopefully they have decent instructions
Let’s Encrypt aims to replace the 3rd option above.
Prerequisites before you Encrypt
Before we start, there are a few things you should check:
- Do you care about keeping your site up during the upgrade process? Options are simpler if you don’t care, but there is no reason you site needs to go offline
- Do you already have a cert? If yes, make note of it since you should revoke it once your new one is setup. If you forget or aren’t sure, this is easy to check by right clicking on the i or lock in the URL bar and viewing the certificate information
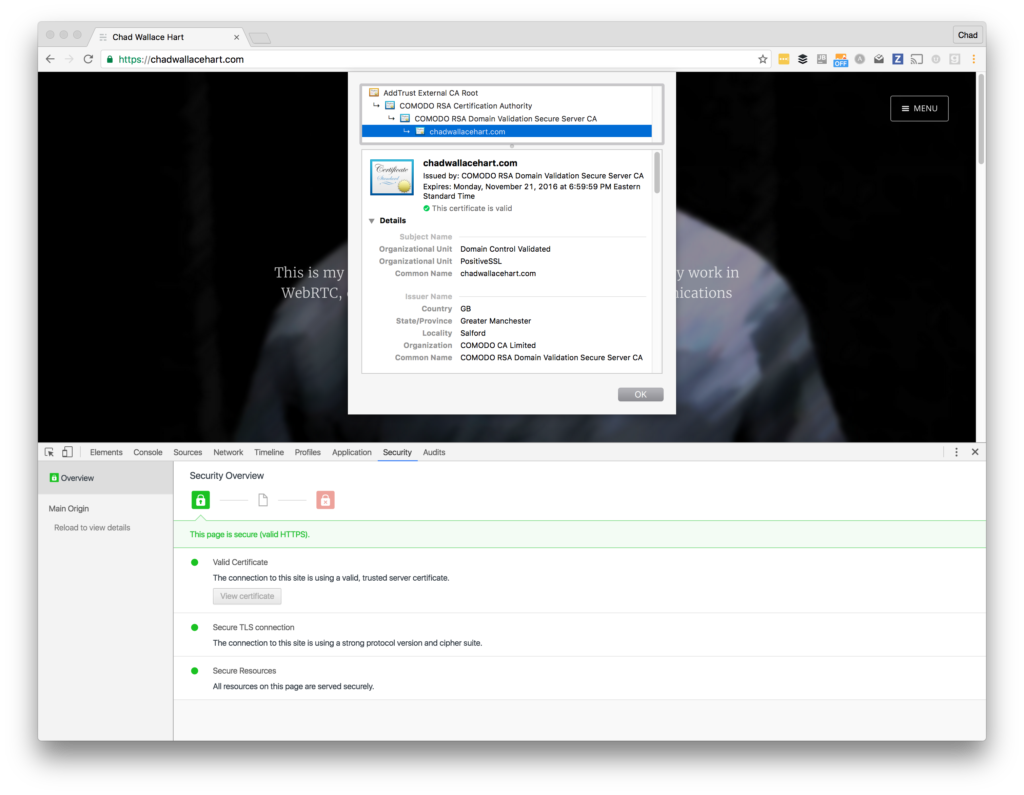
Chrome’s connection details and certificate viewer - Do you have root or super user access to the machine where your web server is running? You’ll need to ssh in there to run some terminal commands
- Do you know what web server you are running? You will need to determine this – Apache, Nginx, etc.. Nearly all my projects use Nginx
- Can you serve static files? Is there a place you can upload files via something like FTP and access it from your browser? This could make the install easier.
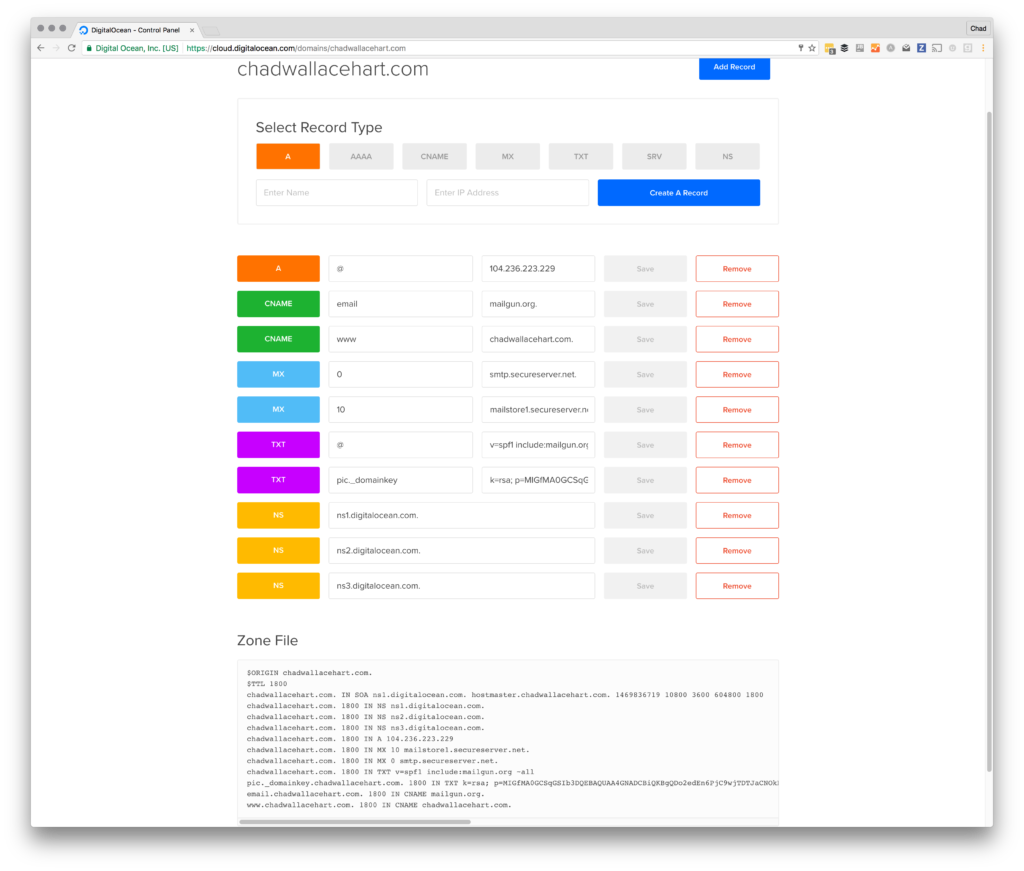
- Do you know what your DNS setup looks like? You’ll need to know all the domains you want to encrypt and make sure they work correctly – i.e. www.example.com & example.com
- Lastly, you should read Let’s Encrypt’s How it all Works page.
Let’s Encrypt
Here was my first attempt:
First I went to to certbot at https://certbot.eff.org/ run by the Electronic Frontier Foundation and select the web server & OS to get customized instructions.
I read through the instructions and then entered the following:
|
1 2 3 4 |
ssh root@104.236.223.229 wget https://dl.eff.org/certbot-auto chmod a+x certbot-auto ./certbot-auto |
Then I got this screen:
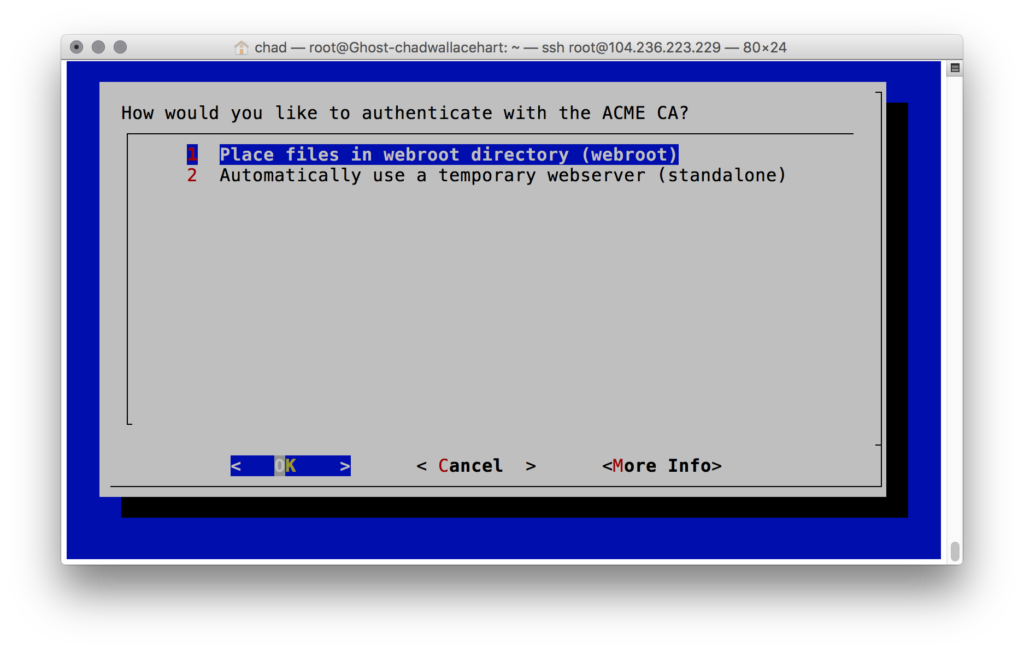
Uhh.. where is the Nginx option I selected? With the default Ghost droplet setup I had, neither of these options worked. The main reason is because the process needs to create and serve a file under /.well-known/acme-challenge/. In my case I did not have a static file folder setup. It wasn’t obvious if Ghost had this setup and I didn’t want to get into modify the Ghost node.js code anyway. The second standalone also did not work since the service was running and I already had my web port (80) allocated to that.
What to do? Despite language saying that the Nginx plug-in for certbot didn’t work, I attempted to install it anyway. I eventually gave on this approach after I installed it and it stated:
Nginx Web Server – currently doesn’t work
That got me experimenting with other options.
Not using Nginx?
Certbot provides specific instructions for are other web servers options – Apache, Haproxy, Plesk. In addition, there are a bunch of plug-ins. I did not try any of these, but I assume they are probably simple to use. I believe most of the principles I discuss below will apply, but the rest of this post will focus on Nginx. I haven’t tried any other web servers.
Using Nginx
The situation with Nginx is actually not so bad, but it will be some extra work depending on how you’re setup. There are 3 main scenarios in my various projects that I think will cover most use cases:
- First-time or near first-time install before you have anyone going to your website
- You are in production, but are only using HTTP and have no HTTPS setup
- You are in production with HTTPS and need to change your certificate (my case in this specific example)
With all of these, I am assuming these are lower scale applications in a fairly simple environment. If you are in a more complex environment odds are your organization has procedures in place for renewing and updating certificates already.
In all the example below I am assuming you are already logged into your server with terminal access, either locally, remotely via ssh, or with some other mechanism.
Also note you might need to put a sudo in front of most of these commands if you don’t have the permissions.
New installs
If you have a new install without live traffic then setup is fairly easy. Either stop Nginx and use the standalone procedure or run it before you setup Nginx. You can stop Nginx by running:
|
1 |
service nginx stop |
After then just run the following:
|
1 2 3 |
wget https://dl.eff.org/certbot-auto chmod a+x certbot-auto ./certbot-auto certonly |
Select 2, the standalone option. The standalone option sets up a temporary web server that services the files needed to validate you operate the domain.
Remember the location of the certificate files it mentions- you’ll use them. The certonly option tells certbot only authenticate, not to install the certificates. We’ll need to do that manually since Nginx isn’t supported yet.
Don’t forget to run service nginx start to get your web service running again.
Skip ahead to the Setting up Nginx for HTTPS below for next steps.
Existing installs that are HTTP-only
If you have an existing install that is only setup for HTTP, you can still use the standalone option, you’ll just need to specify the temporary web server should use. If found the instruction for that in the manual. Starting from scratch:
|
1 2 3 |
wget https://dl.eff.org/certbot-auto chmod a+x certbot-auto ./certbot-auto certonly --standalone --standalone-supported-challenges tls-sni-01 |
This take advantage of the fact that nothing is running on 443 (again, assuming you have nothing setup there), so you can run the temporary web server at the same time as your live traffic.
Setting up Nginx for HTTPS
I have done this a few times now but definitely have had plenty of trouble getting Nginx to do what I wanted it to do. This can easily get complex, but here are a few quick pointers on WHAT to edit:
- Nginx’s main configuration file is nginx.conf which should be located in /etc/nginx – I guess you could configure your actual webserver parameters, but this typically is setup to point to files located in conf.d and/or sites-enabled subfolders
- Sites-enabled often is setup to have a symbolic link to a source file in the
sites-available folder
- run ls -l /etc/nginx/sites-enabled and look for an “l” in the file permissions to see if that is true
- run something like stat /etc/nginx/sites-enabled/ghost on any files ( ghost in my case) to see where the link goes
- If this is true, ignore the sites-enabled folder and just edit in the sites-available folder instead
- Review your various configuration files and find a section that has something like this:
1234567891011server {listen 80;listen [::]:80 ipv6only=on;server_name chadwallacehart.com www.chadwallacehart.com;location / {proxy_set_header X-Real-IP $remote_addr;proxy_set_header Host $http_host;proxy_pass http://127.0.0.1:2368;}} - You can check your configuration before you run it by typing nginx -t -c /your/path/yournginxconfigfile
- If you still have problems, do the following to look at your Nginx logs: cat /var/log/nginx/error.log
- I often received ambiguous server not allowed here errors – its not all that helpful and usually means something isn’t right in the config file
Once you have found where to edit your configuration, now you need to edit this to add the new HTTPS server. In my case, I ran nano (I know, not very 1337) to edit the file:
|
1 |
nano /etc/nginx/sites-available/ghost |
and then entered this:
|
1 2 3 4 5 6 7 8 9 10 11 12 13 14 |
server { listen 443 ssl; listen [::]:443 ssl ipv6only=on; server_name chadwallacehart.com www.chadwallacehart.com; ssl_certificate /etc/letsencrypt/live/chadwallacehart.com/cert.pem; ssl_certificate_key /etc/letsencrypt/live/chadwallacehart.com/privkey.pem; location / { proxy_set_header X-Forwarded-For $proxy_add_x_forwarded_for; proxy_set_header Host $http_host; proxy_set_header X-Forwarded-Proto $scheme; proxy_pass http://127.0.0.1:2368; } } |
Note the certificate locations on lines 5 & 6 – make sure these match what certbot returned earlier. Obviously you’ll need to change all the domain name references from my site.
Then, assuming you want to automatically redirect all your HTTP traffic to HTTPS, modify the entire server section that had “listen 80” in it to the following:
|
1 2 3 4 5 6 7 |
#HTTP to HTTPS server { listen 80; listen [::]:80 ipv6only=on; server_name chadwallacehart.com www.chadwallacehart.com; return 301 https://chadwallacehart.com$request_uri; } |
Actually, I modified my file to more closely match what Digital Ocean recommended in their Nginx SSL setup guide, which includes a bunch of additional SSL options. You can see my complete Nginx configuration file here. (Note it took some additional openSSL commands to create the dhparam.pem file since that was not already there: openssl dhparam -out /etc/ssl/certs/dhparam.pem 2048 ).
Now reload Nginx for the new configuration to take affect:
|
1 |
service nginx reload |
Don’t forget to reload anytime you change something. If that doesn’t work, check the file and error log mentioned above to see what went wrong.
Replacing an existing SSL/TLS Certificate
The astute reader may have noticed my the configuration file I linked to above is served from a static directory. I actually added this during this investigation to help share random files and host other pages. I discovered you can use this for the webroot option in certbot. If you have an existing site that you don’t want to take offline then you can use this method to get your new certificates.
To add a static directory, first create one: mkdir /var/www/static and then add it as a location to your Nginx server configuration:
|
1 2 3 |
location /static { alias /var/www/static; } |
See my full configuration file to see where I put it. You may already have something like this in your configuration.
I was actually able to use the webroot option in this folder to make certbot work. Since I already had everything setup, I used the --dry-run command line option to just do a quick check:
|
1 |
./certbot-auto certonly -w /var/www/static --dry-run |
Note it wouldn’t let me type in the webroot location via certbot’s UI, so I used the -w /var/www/static command line option above. If you already have a location where certbot can save its file, then you can point the certbot webroot location to that one instead.
If you are replacing a SSL ceritificate, then that means you already have your web server setup – now just replace your existing cert references with the new ones. In my case, I just overwrote the ssl_certificate and ssl_certificate_key lines in my Nginx configuration with:
|
1 2 |
ssl_certificate /etc/letsencrypt/live/chadwallacehart.com/cert.pem; ssl_certificate_key /etc/letsencrypt/live/chadwallacehart.com/privkey.pem; |
Don’t forget to reload after you save:
|
1 |
service nginx reload |
You forgot something: auto-renewal
You’re not done yet. Let’s Encrypt is free, but it doesn’t last forever – only 90 days to be exact. You can go through this process every 90 days, or setup a cron job to auto-renew for you. Here’s how to do that:
|
1 |
crontab -e |
Then add this:
|
1 2 |
12 10,22 * * * /root/certbot-auto renew --no-self-upgrade >> /var/log/le-renew.log 14 10,22 * * * /etc/init.d/nginx reload > /dev/null |
Certbot recommends checking to see if renewal is necessary twice per day. If no renewal is needed then certbot doesn’t do anything. The first line basically tells certbot to run its renew command at 10:12AM and 10:12PM every day. The second line then tells Nginx to reload in case there is a new certificate there at 10:14AM and 10:14PM – a couple minutes later to give certbot a chance to do its thing. The > /dev/null keeps your logs and mail form overflowing with confirmation messages. Send this elsewhere or remove it if you would rather see it (which you probably want for initial setup). Why 10:12? That was a minute before I set it up and I wanted to make sure it worked (it did).

Verify it works
When you’re done you should see something like this in your browser:
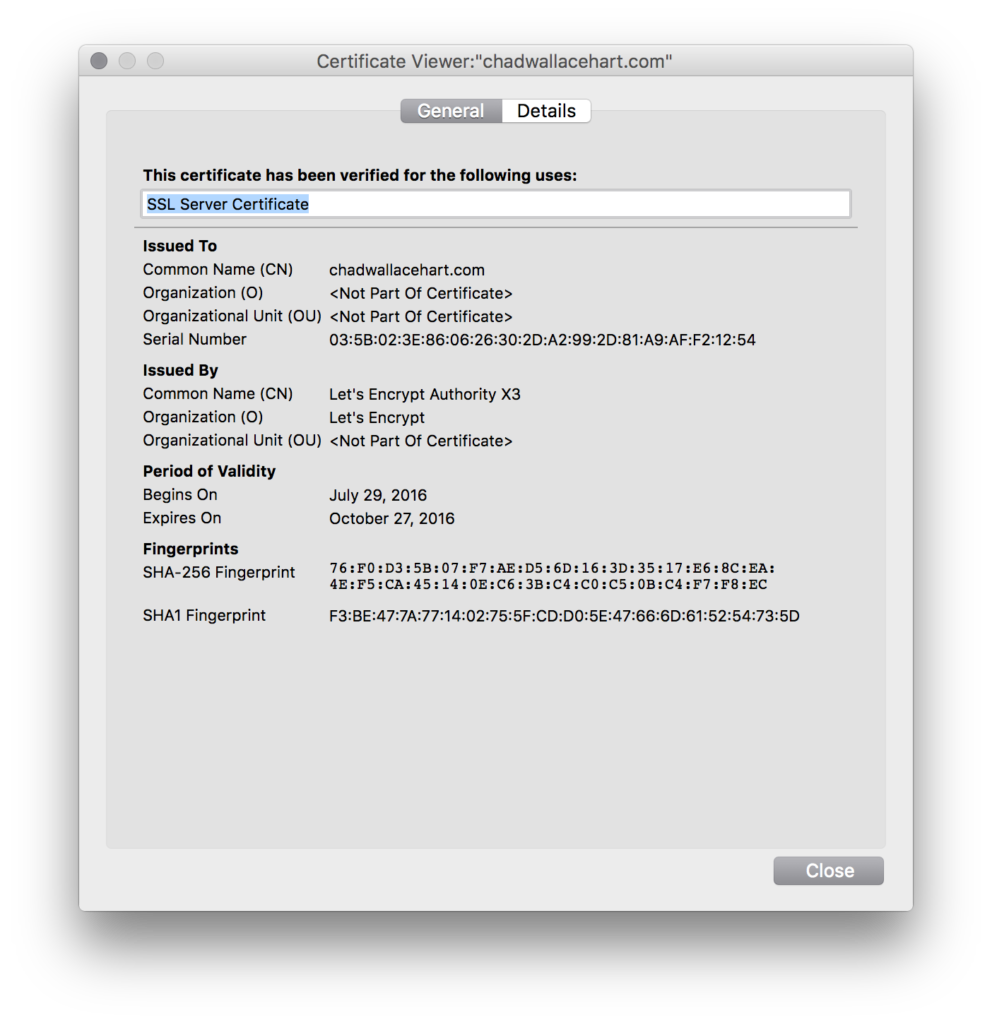
Remember to check /var/log/le-renew.log to make sure renewals are happening from the cron job.
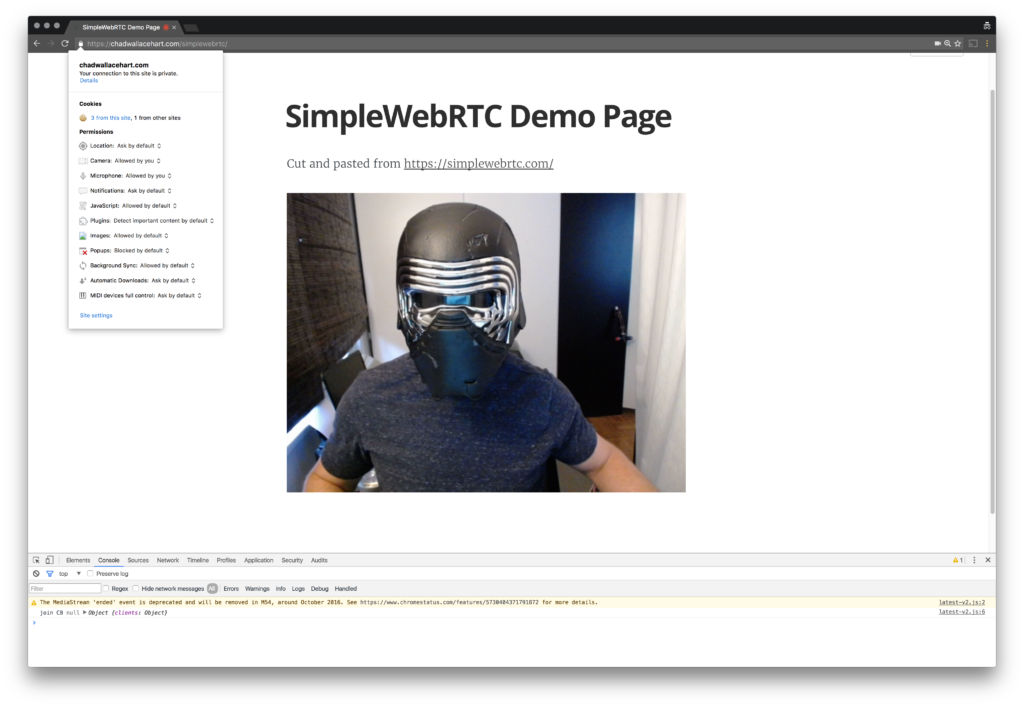
And here is some working WebRTC getUserMedia in Chrome:
Conclusions
Here are my take-aways:
- Web security and encryption is a complicated topic that is only getting more complex
- Nginx is a powerful web server, but its many options can get confusing and its finicky parser can get annoying
- Let’s Encrypt/Certbot was not dead simple for me, but was still far more straight forward than the certificate authorities I have dealt with in the past
- I should probably setup HSTS too, but that is another topic
- I’m glad I wrote all this down for next time
- If you like the idea of Lets Encrypt, then you should make a donation or get involved to support this effort
{“author”: “chad hart“}





I have not tried with nginx, but have used it for Apache. I could automatically setup http to https redirect with –redirect option. Also I could enable HSTS simply by using –hsts option. Of course individual deployments have to evaluate there are no gotchas (like mixed content) when HSTS is enabled.
I find https://www.ssllabs.com/ssltest/ useful to get “a deep analysis of the configuration of any SSL web server.”
If you ask me, it was a silly decision from the Chrome team. Despite the costs, I’m still wondering what would be the SSL solution for LAN without Internet access or even in lack of a real domain name?
To let browser accept a local-signed certificate, you may need to add signer certificate to for each client. The exact steps depend on browser / OS.
Hi Mohsen, have figured out a solution for your use case (LAN without Internet access or even in lack of a real domain name)?
An alternative of HTTP challenge would be DNS challenge (which does not interfere with HTTP server).
As long as your DNS provider supports (lots of them do) some API, you can apply for letsencrypt certs with https://github.com/lukas2511/letsencrypt.sh and https://github.com/AnalogJ/lexicon .
It’s been 90 days. Let’s Encrypt is nice enough to send a bunch of reminders that your certificate was about to expire. It turns out the auto-renew cron-tab failed because of a conflict on port 80. Looks like I need to make some adjustments.